Xero Integration
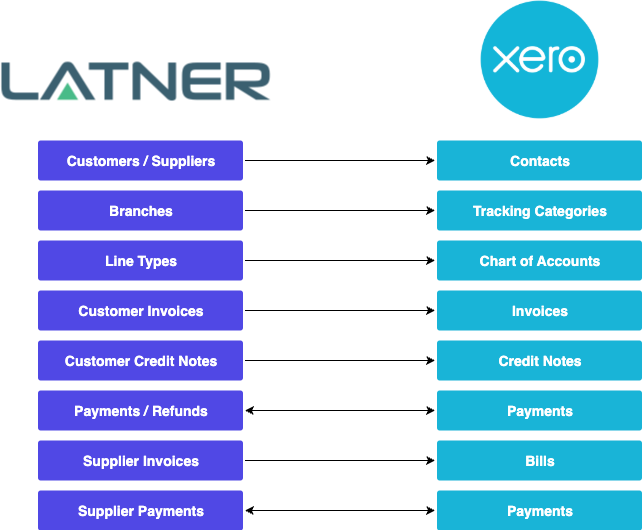
Latner / Xero Data Flow
Connecting to Xero
Latner allows you to connect and manage Xero integrations for each Company you have setup in your instance. Once connected, all Customers, Suppliers, Invoices and Payments for Branches under that Company will by synchronised.
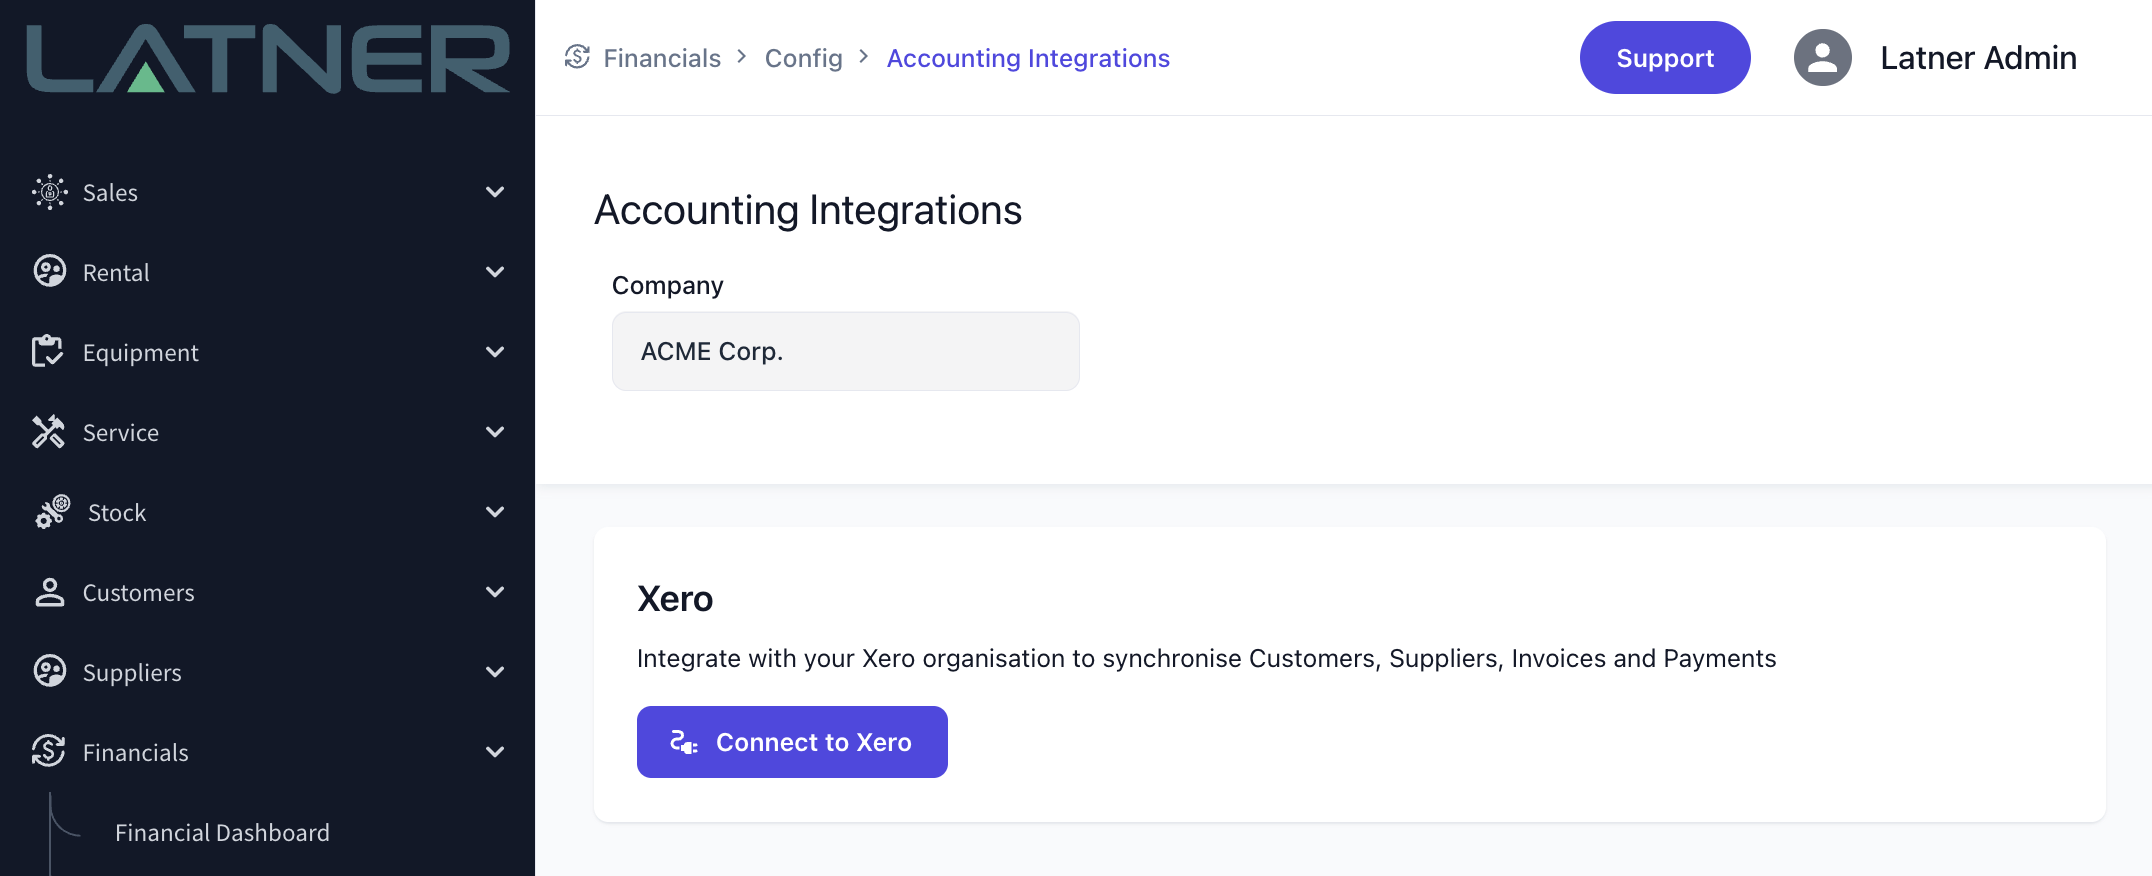
To connect a Company to Xero, go to the Financials > Configuration > Accounting Integrations page in Latner. Select the Company in Latner that you want connected, find the Xero integration card and click the “Connect to Xero” button.

Accounting Integrations Page
You will be redirected to login to Xero and asked to choose a Xero Organisation to connect to and allow Latner access to manage the integration.
Once, you have selected a Xero Organisation and allowed access, you will be redirected back to the Accounting Integrations page in Latner and you should see the Xero integration card change to say “Connected to {your organisation name}”.

Xero Integration Connected
If you have allowed Latner to connect to multiple Xero Organisations, you may be prompted to select which one you want connected to this Latner Company before the connection is made.
If you ever need to change the user credentials used for the Xero integration or start seeing an error message that says “Invalid Grant”, you can click the “Reconnect to Xero” button to refresh the integration between Latner and Xero.
Xero Integration Configuration
Once connected to Xero, you can click the “Configure” button in the Xero integration card to start configuring your connection, such as:
Tracking Categories to use for tracking revenue and expenses per Branch
Mapping Latner Invoice line types to Xero Account Codes for Revenue and Expenses
Formats to use for Invoices and Bills
Reference Fields
Whether or not to sync payments to and from Xero
and more…
Branch Tracking Categories
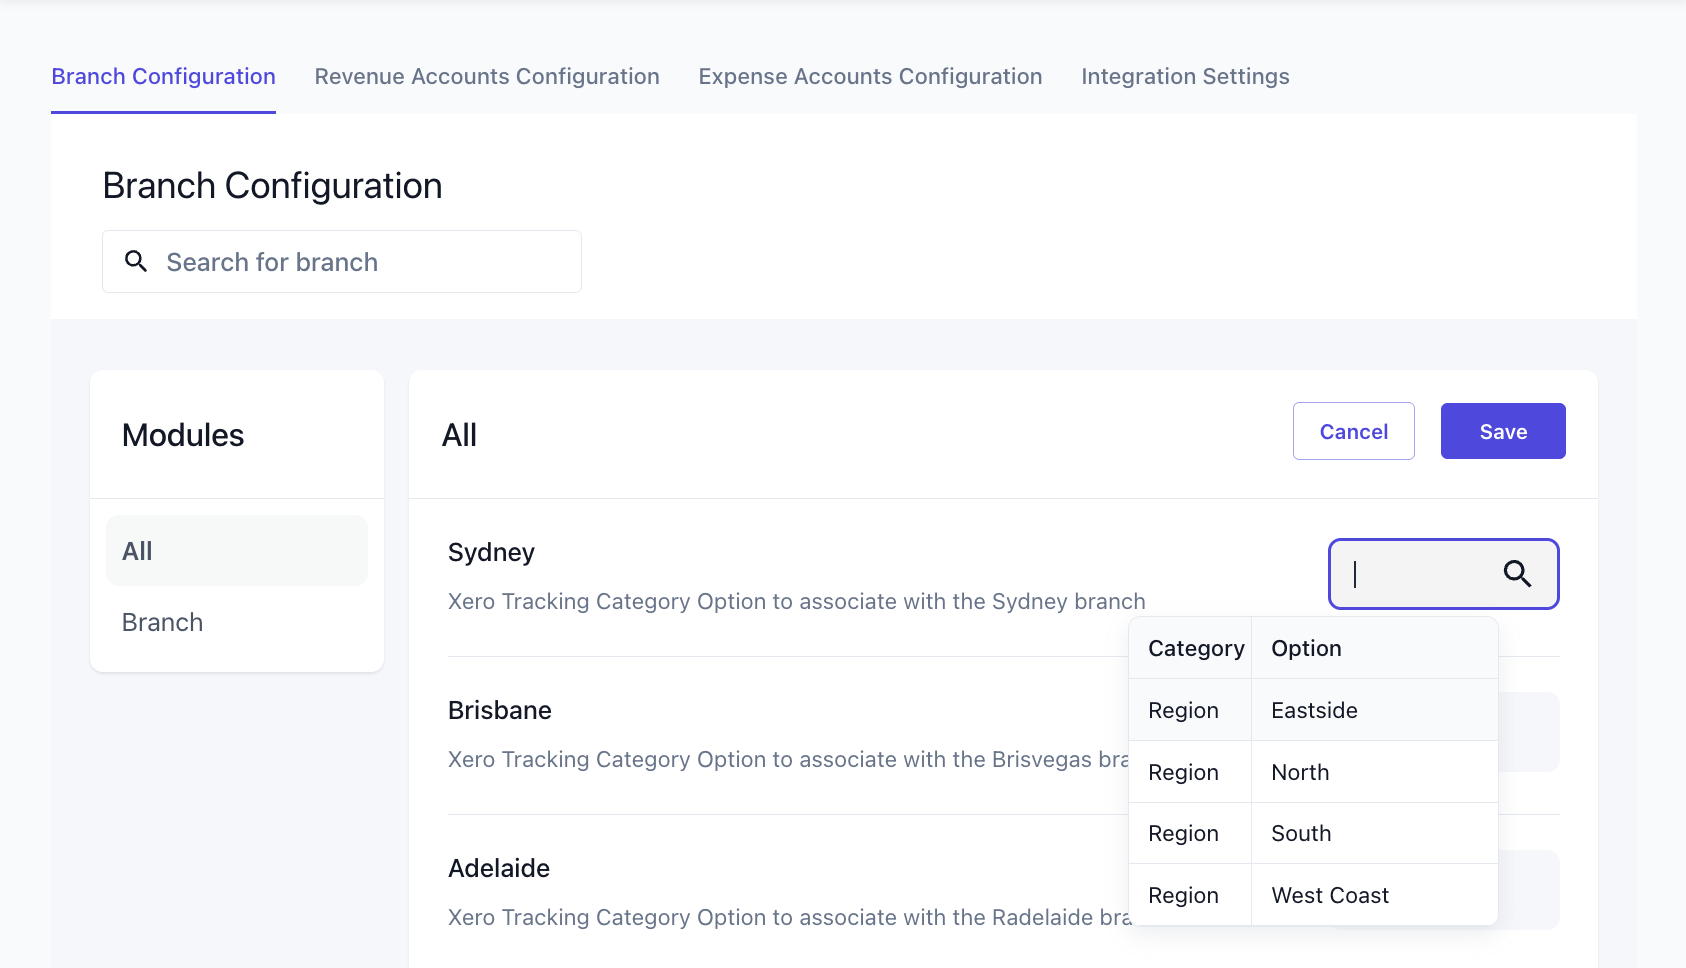
In the Branch Configuration tab, you can select which Tracking Categories in Xero you want to map your Branch from Latner to. This is an option, but recommended step that will help with slicing and filtering your reporting in Xero (More info on Tracking Categories and setting them up in Xero can be found here: https://central.xero.com/s/article/Set-up-tracking-categories).

Revenue and Expense Account Code Mapping
The Revenue Accounts Configuration and Expense Accounts Configuration tabs allow you to map Revenue and Expenses generated on Customer and Supplier Invoices in Latner respectively to their respective Account Codes in Xero.
The mapping configuration is setup as a hierarchy, with the most specific matching mapping taking priority for any given invoice line. The top level of the hierarchy are the different Line Types that can appear on an invoice (e.g., “Admin”, “Equipment”, “Sub Hire Equipment”, “Stock”, etc.). Then under each line type, there is a hierarchy relevant to that Line Type that allows you to more specifically assign Account Codes to types or Equipment, Stock, Admin Charges and more:
Line Type - Equipment
Equipment Category
Equipment Class
Equipment Model
Line Type - Sub Hire Equipment
Equipment Category
Equipment Class
Line Type - Stock
Stock Group
Stock Sub Group
Line Type - Admin
Admin Charge
Line Type - Transport
Internal Fulfilment
Delivery
Pick Up
External Fulfilment
Delivery
Pick Up
Line Type - Sanitation
Sanitation Service Type
Line Type - Fuel
Fuel Type
Line Type - Labour
Labour Service Type
Line Type - Damage (Note: this is not “Damage Waiver”, that is located under Admin Charges)
The full hierarchy above does not appear by default as it would take up too much space, so you will need to use the “Assign Account Code” button to configure account codes to revenue and expense types further down the hierarchy.
Integration Settings
In the Integration Settings tab, there are additional settings for the integration including:
Formats to use for Invoices and Bills
Reference Fields to use for different Invoice types (e.g., PO number or Rental Contract number)
Whether or not to sync payments to and from Xero
Account Codes to use for different payment types
and more…
When Does Syncing Occur
Customer and Supplier Syncing
Customer and Supplier records don’t get synced into Xero from Latner as soon as they are created. They are synced when either a Customer or Supplier Invoice relating to them is synced, OR if you select the “Sync Customer” option on the Customer record to manually sync them to Xero.
Invoice Syncing
Customer and Supplier Invoices and Credit Notes are synced to Xero when the Invoice is marked as Completed status. You can also re-sync an Invoice to Xero by selecting the “Sync Invoice” options on the Invoice record. The history and status of the syncs to Xero can be found in the “Integration Syncs” tab on the bottom of the Invoice record. If the sync failed, you can hover over the “Failed” status to see any error messages that may have been given (e.g., missing account codes or validation issues).
Payment Syncing
Payments (Invoices) and Refund Payments (Credit Notes) made against Invoices and Credit Notes, are synced to Xero as soon as the payment record is created. There is also a trigger to sync payments made directly in Xero back into Latner. These payment records will appear with the payment method “Xero”. You can manually trigger the syncing of payments in both directions by selecting the “Sync Payments” option from the Invoice record. The history and status of payment record syncs to Xero can be seen in the “Integration Syncs” tab at the bottom of the related Invoice or Credit Note and are tagged with the relevant Payment ID.
Credit Allocation Syncing
Credit Note allocations are synced across into Xero as soon as the payment record is created. You can manually trigger the syncing of allocations to Xero by selecting the “Sync Allocations” option from the Credit Note record. The history and status of credit allocation record syncs to Xero can be seen in the “Integration Syncs” tab at the bottom of the related Credit Note and are tagged with the relevant Allocation ID.
Cancelling Invoices
When an Invoice or Credit Note is Cancelled in Latner, Latner first attempts to Void or Delete (depending on the current status) the Invoice or Credit Note in Xero. If the record can’t be Voided or Deleted in Xero (e.g., there are payments or allocations already made against it). Then the cancellation will raise an error.
Removing the Connection to Xero
To remove the connection between a Latner Company and a Xero Organisation, navigate to the Financials > Configuration > Accounting Integrations page, select the relevant Latner Company, and then click “Remove Connection” in the Xero integration card. This will remove the connection and revoke any access you have allowed Latner to your Xero Organisation.
When you remove the connection to Xero, all of your integration settings will be deleted as well, including Account Code mappings. As a result, if you are having issues with your Xero integration, we suggest you try using the “Reconnect to Xero” option first to resolve them.
FAQs
When do my Invoices Sync to Xero?
Customer and Supplier Invoices and Credit Notes are synced to Xero when the Invoice is marked as Completed.
Why are my Customers/Suppliers not synced to Xero?
Customers and Suppliers are only synced to Xero when a related Invoice in synced. They can be manually synced by selecting “Sync Customer” on the Customer record screen.
What does this error message mean?
The Account Number already exists. Please enter a different Account Number
This error will occur if the Latner Customer Code already exists within Xero. This will avoid two customers with the same Account Number, incorrectly syncing to Xero.
Another contact has this contact number. Please enter a different contact number
This error will occur if the Latner Customer Contact Phone Number already exists in Xero - this includes archived contacts within Xero.
Invoice not found on Xero, please sync invoice to Xero first.
This error will occur if a payment sync is attempted before the Invoice has been synced to Xero. Resync the Invoice to Xero before attempting to resync any payments
Payment amount exceeds the amount outstanding on this document
The payment total does not match the total on the Invoice in Xero. Check the Invoice details in Xero match Latner.
Does Latner sync Purchase Orders to Xero?
Purchase Orders in Latner currently do not sync into Xero.

